Fun with Crayons
Since Earth Day is in April I thought I would share some reuse and recycle crafts and activities this month. I like the old adage "waste not want not," so I'll be sharing some crafts that give used things a second chance. First up: crayons. We do a fair amount of coloring around here.
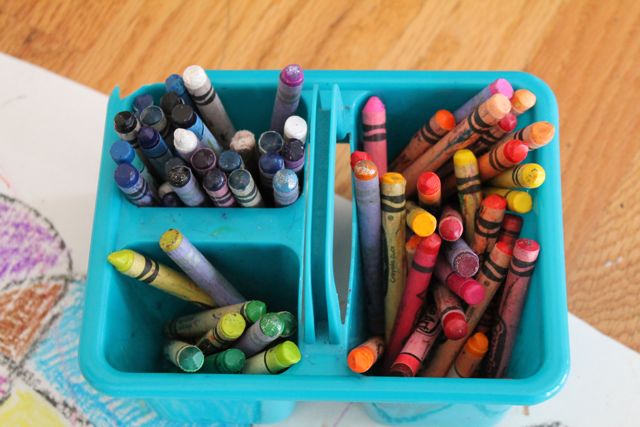
When our crayons break or are too small to safely use around Thing Two, we peel them and throw them in a container.
When we have enough, I chop them up, Thing One sorts them and we melt them into cool new crayons.
We've tried both varying shades of each color, for solid color crayons, or sometimes we mix all the colors together. I've seen these multicolor crayons for sale in the stores and I always wonder why you would pay $4-5 for one when they are so easy to make with old crayon pieces. There's two ways to make your own molded crayons: oven or stove. If you want a marbled look of a single color or you want to have a multi color crayon, the oven is the way to go.
Oven Method:
- place chopped crayon pieces in a heat-proof silicone mold
- line a baking sheet with foil
- place the mold on the foil-lined pan and heat at 300º for 10-15 minutes or until completely melted
- remove from heat and let sit for five minutes, then if you want to speed the cooling you can put the mold in the freezer for 30 minutes or until cold.
- gently pop the new crayons out of the mold and enjoy!
I like the oven method, because it is not messy or fussy and there's less of a chance of getting burned. Once you've melted crayons in the mold you should set it aside for craft use only, don't use these for food later. : )
Sylicone molds don't come in every shape and size, but candy molds do. However, candy molds are usually plastic and not oven-safe, so you have to melt the wax and then just pour it into the mold. So if you want to make a specialty shape you have to use the stove method. If you want to see step by step how-to you can check out Homemade by Jill's blog post here, she made some awesome race car crayons. In a nut shell here's how:
Stove Method:
Use a clean tin can as a double boiler in a small pot of simmering water. Since you melt down the crayons all together, the colors you put in will all mix into one color. So if you want lots of different colors you have to have lots of tin cans and melt them one at a time or multiple pots of water. Also the tin can is obviously super hot, so you have to be really careful as you pour the wax into the molds. We got these cars and tea pots/cups at a couple different birthday parties, and we made the dinosaurs. A friend did say that not all crayons melt down the same. They tried a batch using only free restaurant crayons and it didn't work out well, so try to make sure you have at least some good ones (Crayola or RoseArt) in there to hold them together.
I remember having some Care Bear shaped crayons when we were little and there was something so cool about using a crayon that was something other and just a crayon. It's a fun project and a great way to use up crayons that we would otherwise throw away. Need an art project idea for all your new crayons? Try doing this mosaic method. I think there's a special term for these but I can't remember it. Anyway, the boys love it when we tape a big piece of paper to the floor and I draw crazy squiggles with a black crayon and then Thing One and Thing Two fill in each space with a different color. It's great practice for coloring in the lines without being too intricate and I love how it looks in the end. By doing in on an oversized paper and on the floor we can all work on the piece together and no one is fighting over table space.

May your world be colorful today, friends. And may you add a little color someone else's. : )
Thanks for reading!


Comments
Post a Comment
Comments will be posted after review